 |
This is my fourth collaborative project with
Dave Bruckenstein
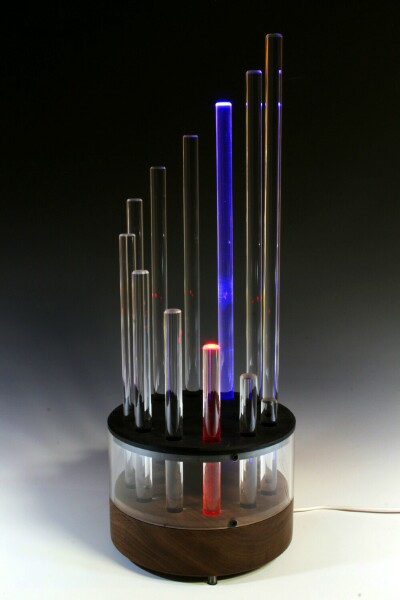
aka "The Crazy Clock Guy". We call this one the Flames Clock it
is an extrapolation from the previous
Light Guide Clock. This one pushes the acrylic
light guide rods out of the base and up into a spiral.
The time is shown by reading the blue lit rod as the hours,
and the red one as the minutes - to the nearest 5. So
in the image above it is 10:10 with the shortest rod being
1:00 or 0 minutes if lit red.
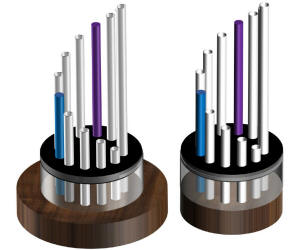
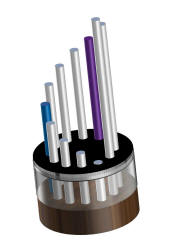
We spent many weeks evolving the design and Dave rendered
each iteration until we both had a design that we found
pleasing.
(click on any of the images below to embiggen) |
 |
 |
|
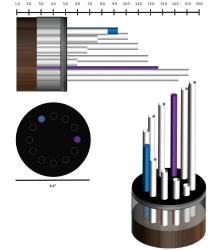
Below is the final design specification that I worked from,
the dimensions were largely dictated by the 6" diameter
acrylic tube and the 1/2" rods. Dave trusted me to
make judgment call on the fly, and I sent him progress
pictures throughout the process so he could be fully
invested. (He lives in North Carolina, and I'm in
Maine). |
 |
|
The first step of the fabrication process was to turn the
walnut wood base. I got a couple of "wood bowl blanks"
from eBay - these are nicely prepared pieces of wood that
are ideal for making wood bowls. |
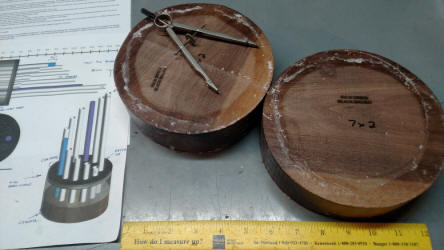 |
| On my wood lathe I turned the
wood to a clean cylinder, then cut a recess for the acrylic
cylinder, and then opened up the bottom for the electronics. |
_small.jpg) |
_small.jpg) |
_small.jpg) |
_small.jpg) |
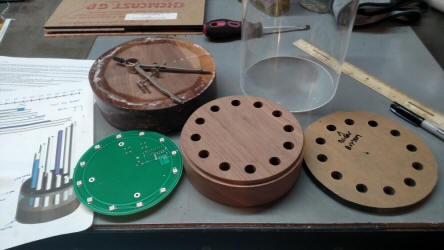
| We had decided to use the
same electronics as we did in the last clock. In fact
we committed to 3 circuit boards to bring the cost down and
also to create a "standardized format" for future designs. |
_small.jpg) |
_small.jpg) |
|
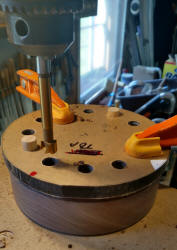
I drilled holes for the acrylic rods through both the 1/2"
black acrylic top and the wood base. |
 |
 |
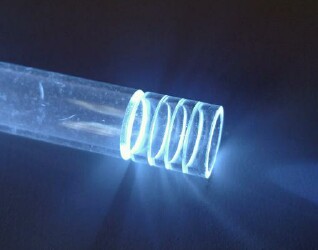
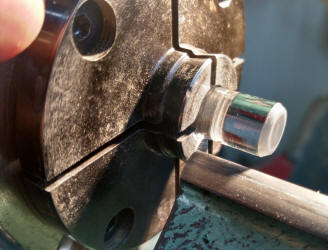
| I then turned the ends of
the rods to put a bevel on the end so that when it is viewed
from the side the light would be more visible when it is lit
up. At one point we considered cutting rings into the
edges - and even considered groups of 4 rings that would
represent the hand position in binary but decided that was
just too geeky! In the picture below left the wide
ring represents a "1" and the narrow ones a "0". |
 |
 |
| Final assembly involved
screwing all the parts together and then dropping the rods
in from the top so they slide down into the base where they
touch the LEDs. The final result is very pleasing to
both of us! |
_small.jpg) |
_small.jpg) |
_small.jpg) |
_small.jpg) |
|
I love it when a plan comes together! |