|
August 26, 2007
Coating the bare wood with epoxy
|
  |
|
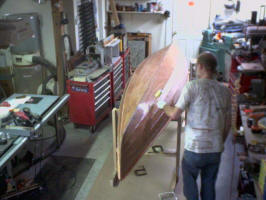
I have been sanding the surface on and off throughout the
project so that now it is time to apply a light coat of epoxy to all the bare
wood surfaces I didn't have much sanding to do. I did vacuum the workshop
thoroughly to reduce dust. Then I vacuumed the boat and wiped it off with
a rag. I mixed up 8 ounces of slow cure epoxy and rolled it on with a 3"
roller, I didn't cover the bottom 2 planks as they are already well covered.
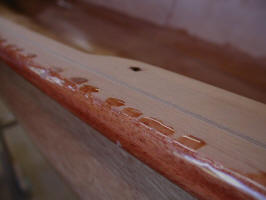
As soon as I had rolled on a full coat to the planks I tipped off the bubbles
with a disposable bristle brush. I then used that brush to paint the
outwhales -- along the under and outer edges. I am able to re-use the
cheap bristle brushes a few times by washing them off in lacquer thinner.
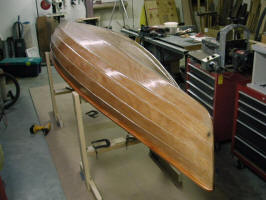
So far it looks pretty good. After the second coat I
will decide whether I will paint or varnish the outer hull.
The first coat left the surface a bit rough, and there
were a few drips, but an hour or so of sanding took care of that. The
second coat looks really nice. |
|
August 26, 2007
Coating inside with epoxy |
 _small.JPG) _small.JPG) |
|
I has a nasty surprise this morning when I flipped the
boat over - drips! Once again I resorted to my favorite tool and sanded
them all off with a 220 belt. It didn't take long compared to all the
other sanding I have been doing almost every day. |
|
 _small.JPG) _small.JPG) |
|
As I went to mix another 8 ounces of epoxy, I ran out of
the slow hardener. So I had enough to coat 3/4 of the inside before I had
to run out to the hardware store and buy a small 7 oz can of 206 slow hardener.
Then when I mixed up another batch of 4 ounces I ran out of the epoxy!
Fortunately I have covered everything with one full coat, and the decks and
gunwhales have a heavy brushed on coat, so I think I have enough surface
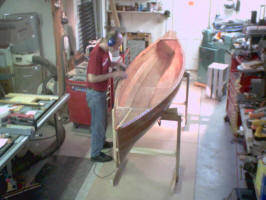
preparation to go right to varnish -- after hours more sanding! The image
above left taken from my web cam shows me sanding down the inside after the
first coat of epoxy.
It sure looks great with a full coat of finish! I think
I have decided to go with varnish on the outside because I really want this to
be a real "woody" boat, in fact I plan to name her "Sawdust"!
|
![]()