|
|
|||
| Product Design | My Artwork | Living Sustainably | |
| Art Engineering | Levitation Kit | Solar Power | Chevy Volt |
| About Me | Blog | Solar Heating | Thermal Windows |
| Contact | Solar Hot Water | Solar Mower | |
|
|
|||
| Product Design | My Artwork | Living Sustainably | |
| Art Engineering | Levitation Kit | Solar Power | Chevy Volt |
| About Me | Blog | Solar Heating | Thermal Windows |
| Contact | Solar Hot Water | Solar Mower | |
home > solar DHW
Installing My Solar
Domestic Hot Water
Heating System
|
Click below to jump to
specific pages
|
|||||||||||||
| HOME |
Receiving parts |
Design tweaks |
Installing staging |
Installing collectors |
Planning plumbing |
Pulling umbilical |
Plumbing tank |
Installing Wand |
Test Results |
Dash board |
Check valve |
Adding HX |
LIVE STATS |
|
|
|
|
|
|
|
|
|
|
|
|
|
|
|
Day 2 - design tweaks and mods
| Jul 15-17, 2006. Time Invested today: 1:00 Painting, and modifying parts/ 0:45 Hardware store run for stainless screws. 3:00 Studying manual, and assembling overflow to collector. |
 Day
2 Day
2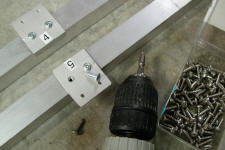 Looking
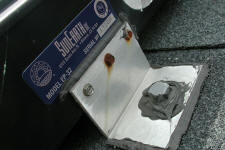
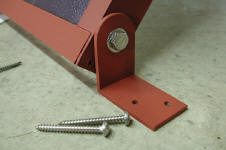
at all the exposed sheet metal screws, I recalled how the mounting screws
I used on my other solar collectors (at left) have rusted, so I decided to
replace them with stainless steel. A box of 100 screws was only
about $6.00 - there are over 50 screws involved in the collector mounts
and brackets and it only took a few minutes to replace them all. Looking
at all the exposed sheet metal screws, I recalled how the mounting screws
I used on my other solar collectors (at left) have rusted, so I decided to
replace them with stainless steel. A box of 100 screws was only
about $6.00 - there are over 50 screws involved in the collector mounts
and brackets and it only took a few minutes to replace them all. |
|
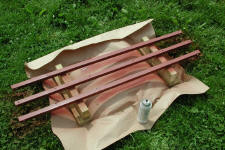
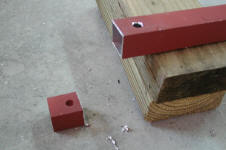
I also decided that since the collector frames come in a nice brown color that I would paint all the other exposed shiny metal parts. This includes the mounting rails and PV frame. I used Krylon brown primer which matches exactly.
|
|
Day 3 |
|
Day 4 |
|
|
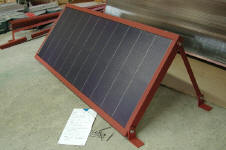
That evening I pre-assembled the top right panel to it's mounting rails in my workshop, and installed the overflow tank and plumbing along the top. This is a very impressive part of the system design which allows the water in the panels to boil over into the expansion tank in the same way that an automobile radiator does. In fact there is a standard radiator cap used for this purpose! This crucial piece of the design is what makes it maintenance free and very unlikely to fail due to excess temperature or pressure. I have come to really appreciate all the considerable thought that has gone into this design. |
|
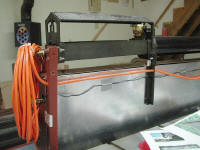 I decided to run the wire that goes to the PV panel through the mounting rails to keep it out of sight and reduce the weather exposure. This 50 foot wire will follow the plumbing umbilical run all the way to the solar powered pump above the water heater. There is also a small sensor mounted to the end of the expansion tank that responds to a float in the tank. If the tank level falls too low, this sensor lights a small red light in the home. I ran this wire through holes in the rails too. |
|
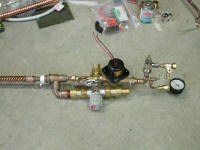 I spent over an hour looking at the manual to get it clear in my head how the Solar Wand plumbing will assemble together after it is installed on the hot water tank. It is like a puzzle with a number of options for connecting the parts. Again I am impressed by the considerable attention to detail and the unique and unorthodox plumbing design. This system has the "fingerprints" of an inventor who thinks outside the box and reminds me of my own design methodology! |
|