  July
26, 2009 July
26, 2009
While
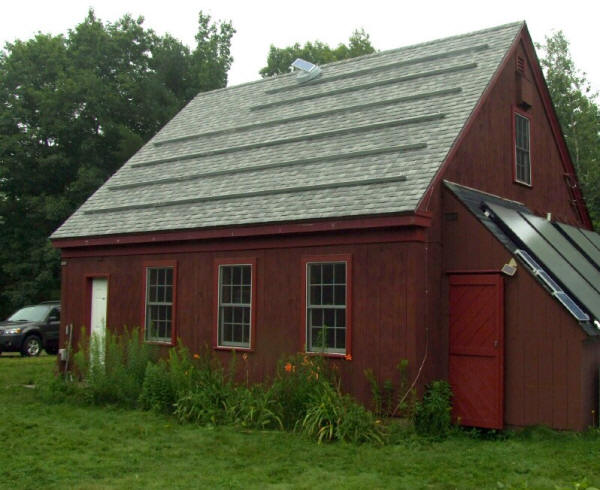
I am still waiting for the inverters to arrive, I decided to install in
2 phases. Starting with installing the mounting rails for the panels
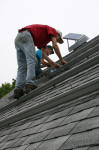
and inverters. I pulled together my neighbors for a "barn raising".
John (red shirt at left) the home builder who has all the scaffolding we needed to get to the
roof. And Tom (lower right) is also interested in solar and
helped install my
solar domestic water heating system a few years ago.
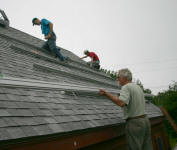
The local TV weather forecaster promised a partly cloudy morning with
possible thunder showers in the late afternoon. So we started early and
got the scaffold set up by 9:00am. Little did we know that Maine
weather would surprise us with light fog and intermittent downpours, but
we plugged on through. As the Mainah's say: "If you don't like the
weathah, wait 20 minutes."
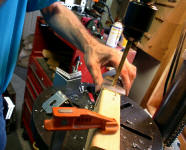
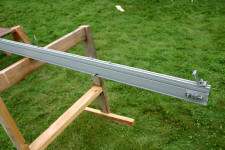 The
day before we installed I carefully measured out the locations for all
the mounting bolts on the rails and made marks to indicate where they
would go. Then I slid the bolt heads into the slots in the rails. I
made up 2 types of rail - one that holds the inverter with 2 extra bolts
in the middle of each panel (shown at left) and one that doesn't.
I had them all laid out in sequence on saw horses ready to go up. The
day before we installed I carefully measured out the locations for all
the mounting bolts on the rails and made marks to indicate where they
would go. Then I slid the bolt heads into the slots in the rails. I
made up 2 types of rail - one that holds the inverter with 2 extra bolts
in the middle of each panel (shown at left) and one that doesn't.
I had them all laid out in sequence on saw horses ready to go up.
 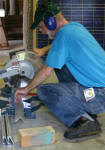 I
ran short on the L brackets that my dealer provided for the rails - they
had figured on only enough brackets to support the rails for the panels
I bought. So I had to stop and make a bunch more L brackets by cutting
up some stock aluminum extrusion and drilling them for 3/8" bolts.
These worked out just as good as the "factory ones, and were probably
cheaper. I
ran short on the L brackets that my dealer provided for the rails - they
had figured on only enough brackets to support the rails for the panels
I bought. So I had to stop and make a bunch more L brackets by cutting
up some stock aluminum extrusion and drilling them for 3/8" bolts.
These worked out just as good as the "factory ones, and were probably
cheaper.
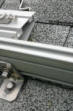
Each L bracket is bedded in high quality 50 year rated silicone. Once
the panels are up they will be protected from weather so I don't expect
the silicone to fail and create leaks! All the hardware is
stainless steel - expensive but worth it!
|


.jpg)